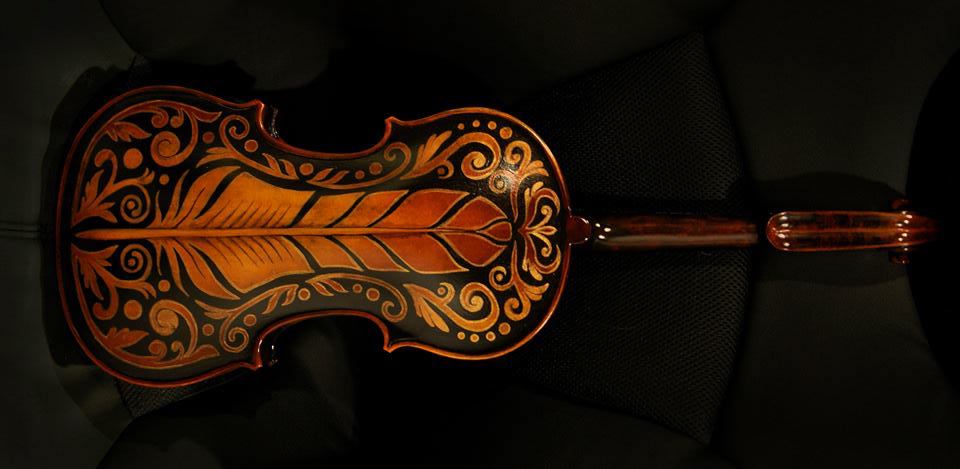
Painting My Violin
Share
Years ago I had taken up playing the violin and viola and couldn’t resist adding my own touch to the violin that I bought.
It’s an inexpensive beginner’s instrument, so I wasn’t too concerned about how the paint was going to effect the sound quality and to my surprise, after the new paint job and some good quality strings it sounds pretty good, when someone else is playing it!
Here’s my process:
Here it is as I bought it. I liked the variation in colour and tone as a base, so to prep it I just sanded it enough to scuff up the varnish to allow the new paint to bond.
Part of the fun for me was learning how the instrument is put together, how it works and all of the elements that will affect it’s function and sound. Youtube was a huge help in learning all of this and how to assemble everything properly after I had taken it all apart. Violins are delicate and sensitive creatures!

Next was the design process. I had created a handy pinterest board with a number of inspiring images of violins and other art that appealed to me. I love the pairing of aged wood and black details and I’m a sucker for the detail and richness of antiques. My love of nature, organic shapes and even my passion for modern design elements all worked it’s way in there.
I started by tracing the exterior shape of the violin on to paper and then made a few copies to work with. I sketched out one half of the design and then scanned and mirrored the image to make a template.

I then carefully positioned the template with a sheet of white wax transfer paper on to the back and traced the design on. Next I painted on a liquid frisket to fill in the design. This dries into a removable rubbery coating which will prevent the next layer of paint from adhering to the inside of the design surface.

After the frisket dried I applied a couple of coats of black acrylic and allowed that to dry completely before carefully peeling back the frisket to expose the original surface. Then I went back in with the black paint and cleaned up all of the edges where the frisket had taken some of the paint away with it.

I then added some shading and details followed by an outline of gold acrylic around each shape. (this shot is pre-gold details)

After painting the details on to the back and sides, I antiqued the whole thing with black acrylic.


I used the same process to design and paint the sides.

It’s definitely not the same instrument that I bought!


